JetEngine + JetFormBuilder: Turn Survey Data into Powerful Dynamic Listings (No Code!)
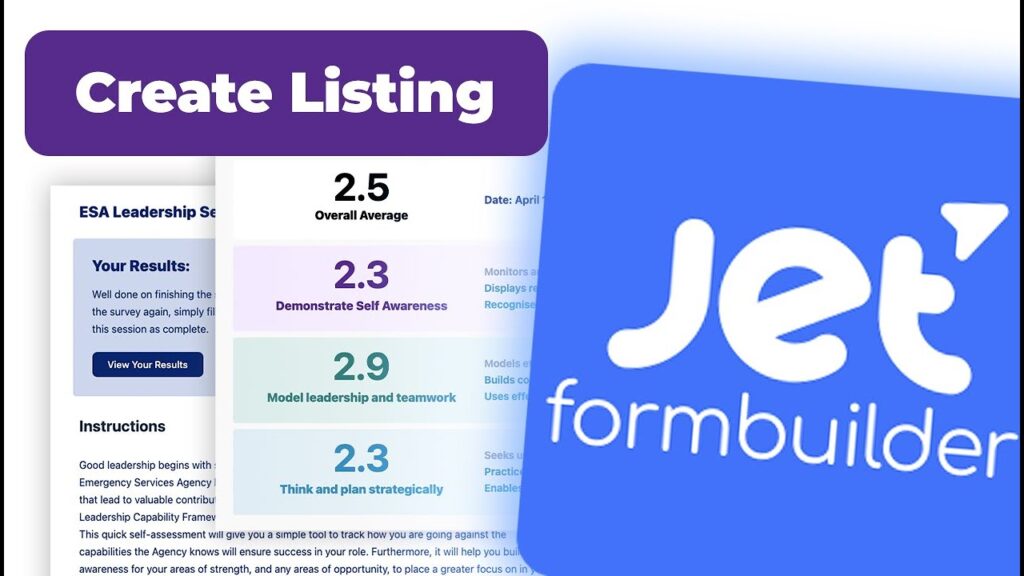
Create JetEngine Listing for Survey Results Page Using JetFormBuilder
Today, I’ll be walking you through a step-by-step tutorial on creating a Jet listing to beautifully display survey results on your webpage. Our ultimate goal? Empowering users to effortlessly view and review their previous survey responses. To achieve this, we’ll be leveraging the dynamic capabilities of JetFormBuilder in harmony with the versatile JetEngine.
Recapping Previous Steps:
Before we embark on this exciting journey, let’s take a moment to refresh our memory on the groundwork we’ve covered in our previous video. We’ve set up a powerful Custom Content Type (CCT) and implemented a clever post-submit action for our survey form. If you haven’t caught up with these initial steps, I encourage you to check out the earlier video to get the full picture.
Creating the Listing:
Alright, let’s roll up our sleeves and get into the nitty-gritty of creating that impressive listing. Fire up your JetFormBuilder and hit “Add New.” We’ll focus our attention on the Custom Content Type (CCT) that corresponds to our survey data, aptly named “Survey Logs.” While we could delve into intricate calculations for leaderboards or complex data manipulation, we’ll start with a simpler approach for now.
Styling and Presentation:
Aesthetic presentation is key when it comes to effectively showcasing data. Here’s where styling and dynamic fields come into play. I’ve opted for a visually appealing listing format to present our data. Inside this listing structure, I’ll be utilizing Dynamic fields to elegantly display the survey data. Our design blueprint calls for four neat columns in this setup. I’ll be tapping into the relevant CCT fields and giving them a personal touch to suit our vision. This might involve adjusting field sizes for enhanced visibility. Additionally, I’ll show you how to easily replicate and tailor fields to cater to various survey data types – think averages, overall results, and more.
Integration and User Experience:
Now, it’s time to seamlessly integrate our well-crafted listing into the survey results page. I’ll guide you through the process of formatting it to feature a single, clean column. This layout ensures that users can seamlessly review their survey history, complete with vital details like averages and corresponding dates.
Filtering and Personalization:
Enhancing user experience is a top priority, and that’s where data filtering comes into play. Imagine this: you want to ensure that users only see their own survey results, without any distractions from others. I’ve got you covered with a walkthrough on creating a custom query using JetEngine’s Query Builder. This query ensures that only results belonging to the current user are showcased – no more unwanted overlaps.
Flexibility and Further Exploration:
Before we wrap up, it’s essential to recognize that this setup isn’t set in stone. It’s a versatile foundation that can be tailored to meet specific needs. The possibilities are endless – you could delve into advanced reporting, or even incorporate eye-catching charts for more in-depth insights.
Upcoming Insights:
Hold on to your hats, because our journey doesn’t end here! In our upcoming video, we’ll dive into the thrilling realm of personalized messages for users once they’ve completed the survey. Not only that, but we’re also going to guide you through the seamless process of enabling users to conveniently download their survey results. If you’re intrigued by the ins and outs of managing WordPress membership sites or need expert guidance for your projects, I invite you to explore the wealth of valuable resources and insights waiting for you at WPmembershipdesigns.com. If any questions arise or if you need further clarification, don’t hesitate to drop your queries in the comments section below. And for an even more personalized touch, I encourage you to book a free discovery call with us at http://custommem.ygj6wujvyx-ewx3lqx2q4zq.p.temp-site.link/call/. Your journey into the world of WordPress is just getting started, and I can’t wait to guide you through each exciting step!
Thank you for joining me today, and remember – the world of WordPress holds endless possibilities. Stay tuned for more enlightening insights and discoveries!
Tools & Plugins that used
- JetFormBuilder by Crocoblock
- JetEngine


Responses